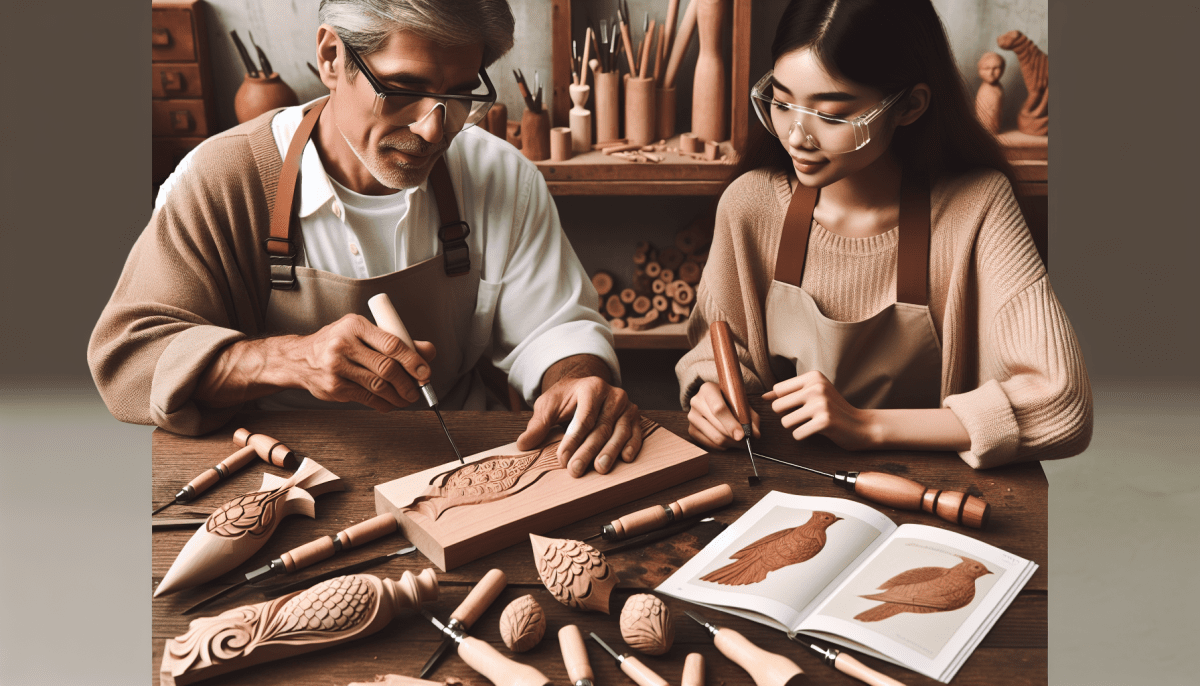
Jumping into wood carving can feel a bit overwhelming, but don’t worry! It’s all about getting started with the right tools and techniques. First things first, you’ll want to pick a few essential tools. A good set usually includes a carving knife, a whittling knife, and maybe some chisels. Don’t go for the most expensive ones if you’re just starting out. Look for something comfortable that feels good in your hand.
Next up, choose your wood wisely. Softwoods like basswood or pine are great for beginners. They’re easier to carve and won’t tire out your hands as much as harder woods. Plus, they’re often more affordable, so you can practice without breaking the bank. Grab a few small blocks to start with; you don’t need big pieces at this stage.
Now onto the fun part—getting your hands dirty! Start with simple shapes to build your confidence. Try carving out a small figure or even just some patterns on a piece of wood. As you carve, pay attention to how the wood reacts and remember, it’s okay to make mistakes. That’s all part of the learning process.
Finally, consider joining a local carving group or checking out online tutorials. Connecting with others who share your interest can provide great tips and inspiration. Plus, it’s nice to share your progress and see what others are creating. Happy carving!
Choosing the Right Tools for You
When you're starting out in wood carving, having the right tools makes a world of difference. It’s tempting to dive into the fancy, high-end options, but let’s focus on what you really need. Begin with a few essential tools that will help you get comfortable and build your skills without breaking the bank.
First off, you’ll want a basic set of carving knives. Look for a whittling knife, a detail knife, and a hook knife. These three will cover a lot of ground in your projects. A good-quality knife will feel balanced in your hand and will be easy to control. Brands like Morakniv offer solid options that many beginners swear by.
Next up, consider getting some chisels. A small set with various widths will help you get into those nooks and crannies. Look for a set that includes flat and round chisels—these shapes are super versatile for different designs. Make sure to choose ones that come sharp out of the box, or prepare to spend some time honing them before you start carving.
Don’t forget about safety gear! A carving glove is a smart purchase to protect your hands from slips. And a sturdy, non-slip carving surface—like a bench or carving mat—can really help keep your work steady. These simple additions can greatly enhance your carving experience, making it safer and more enjoyable.
Finally, as you progress, you might want to explore other tools like power carvers or gouges. But start small! Focus on getting comfortable with the basics. As you grow your skills and confidence, you can gradually add to your collection. Happy carving!
Understanding Wood Types and Grains
When you're starting out in wood carving, it’s super helpful to understand the different types of wood and their grains. Each type of wood has unique properties that can really affect how easy or difficult your carving project will be. Let’s break down some of the most popular wood types you might come across.
Softwoods: These woods usually come from coniferous trees like pine, cedar, and spruce. They are generally easier to carve and are perfect for beginners. Softwoods have a lighter weight and are often more forgiving, allowing you to make mistakes and learn as you go. Plus, they often have lovely natural colors and smells that make your carving experience more enjoyable.
Hardwoods: On the flip side, hardwoods like oak, maple, and walnut are much denser and can be tougher to work with. They give you beautiful finishes and have rich patterns, but they require sharper tools and more effort. If you're up for a challenge and want something that looks fantastic, hardwoods are definitely worth considering once you’ve honed your skills a bit.
Grain Patterns: The grain of the wood is also key to how your carving will turn out. Some woods have straight grains, which are easier to carve, while others may have swirling or irregular patterns. If you’re just starting out, look for woods with straight grain, as they'll give you cleaner cuts and smoother finishes. Take some time to observe and appreciate the different grains before you start a project.
Remember, picking the right wood makes all the difference in carving. Each type will offer a different feel and finish, so don’t be afraid to experiment. Try different pieces and see what resonates with you the most!
Simple Projects to Try First
If you’re just starting out in wood carving, it’s best to keep things simple at first. Here are a few projects that are perfect for beginners and will help you get comfortable with your tools and techniques.
1. Spatula
Creating a basic wooden spatula is a fantastic first project. It requires only a few cuts and a bit of sanding. Plus, you’ll end up with a useful kitchen tool! Start with a softwood like pine, as it’s easier to carve and will help build your confidence.
2. Simple Figures
Try your hand at carving small, simple figures – like animals or Christmas ornaments. These can be done with just a few basic shapes. Use a softwood and focus on getting the outlines right before detailing. It’s a great way to practice your control and see your progress!
3. Coasters
Wooden coasters are another easy project that lets you explore carving designs without overcomplicating things. You can start with square pieces of wood and carve simple patterns into them. Finishing them with a bit of sandpaper will make your work really shine, too!
These projects not only help you build skills but also give you a sense of accomplishment. The best part? You can use your creations, adding that personal touch to your home or gifting them to friends and family!


